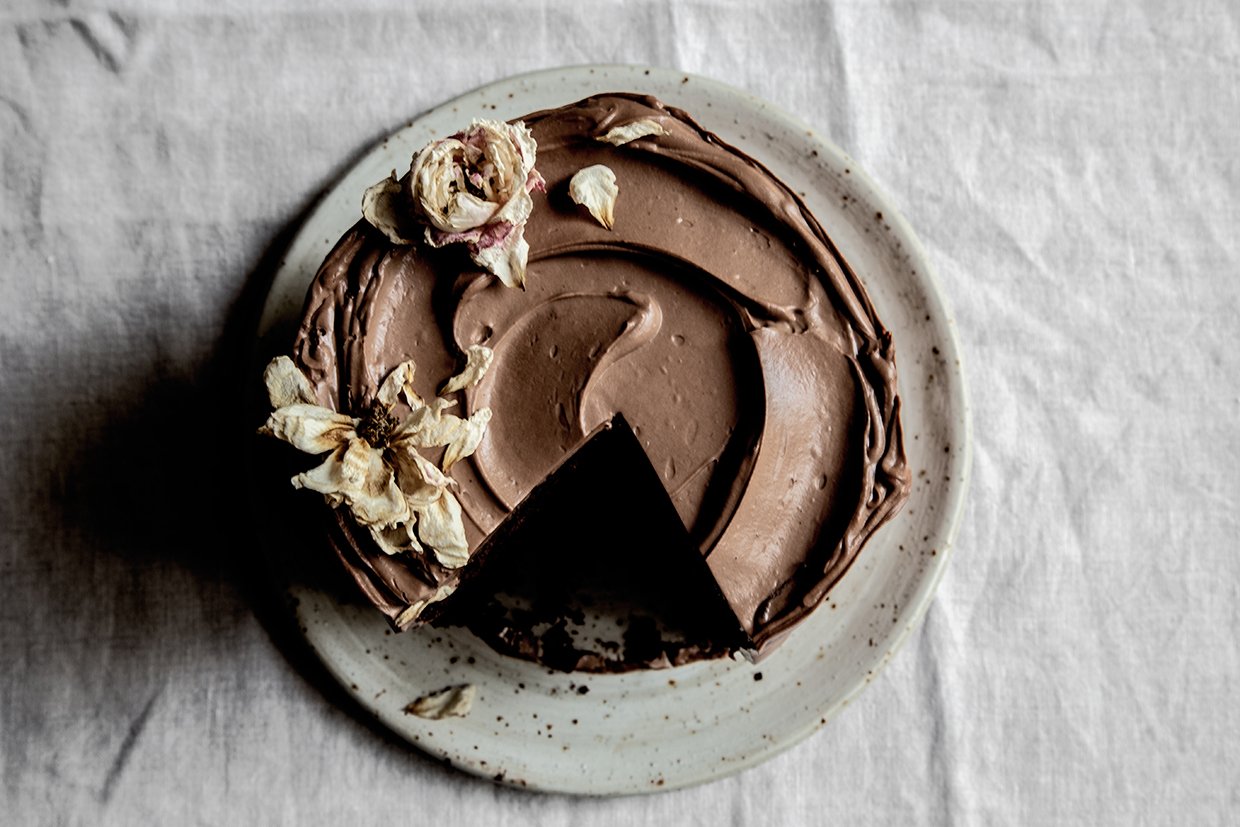
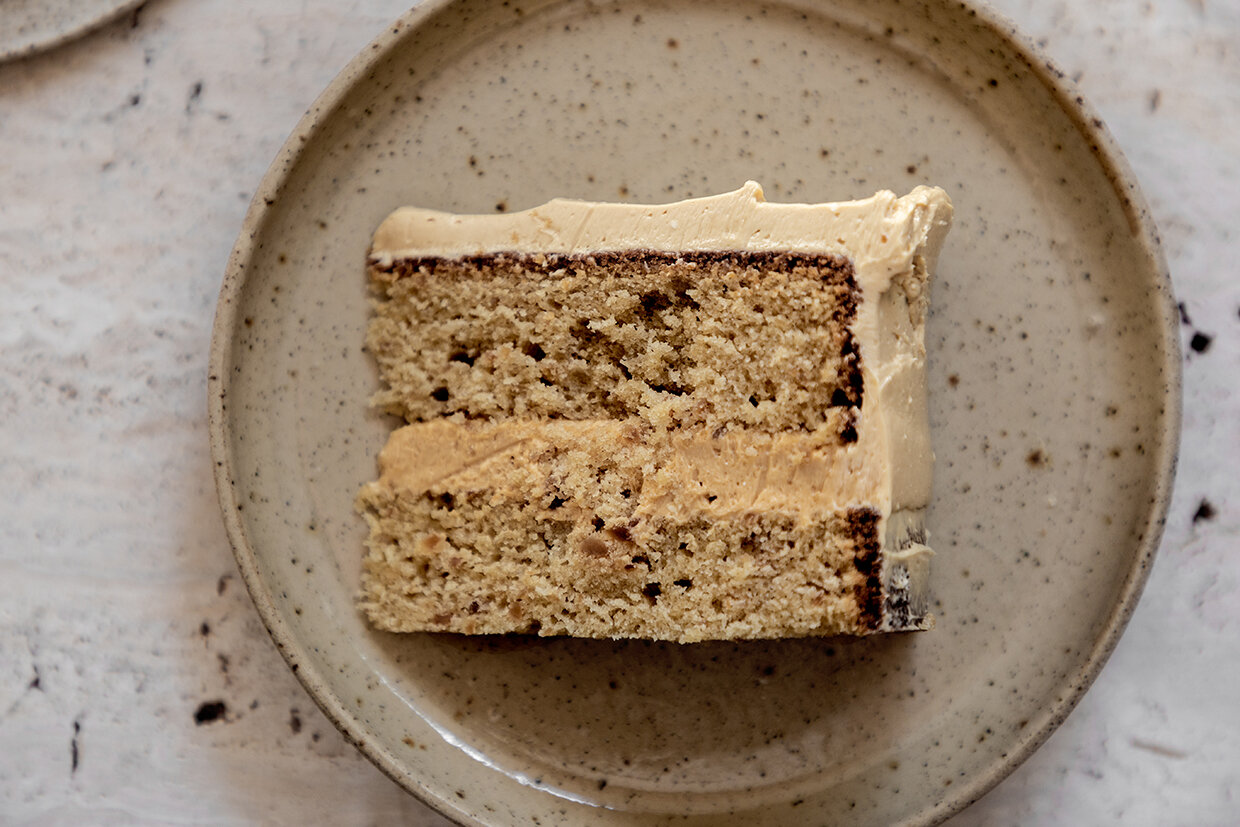
CHOCOLATE OLIVE OIL LAYERED CAKE


I have a thing for olive oil cakes lately. This one is a plant-based alternative to the classic chocolate cake that actually ended up being even better than the original one. Extremely soft and crumbly, the cake vanishes like thin air in the mouth. This cake is combined with a cloudy chocolate ganache that introduces you to the ideal proportion of cream and chocolate that results in a soft silky cream melting on the palate. A fairy cake recipe you shall not omit to try …


CHOCOLATE OLIVE OIL CAKE

INGREDIENTS (makes 1 layered cake of Ø 16 cm)

For the cake layers:
310 g cake flour
45 g cocoa powder
19 g baking powder
120 g dark brown sugar
80 g virgin olive oil
285 ml rice milk (or any other plant-based milk)
½ teaspoon (tsp) fine sea salt
½ tsp baking soda
½ tsp apple cider vinegar
the contents of ½ vanilla pod

For the whipped chocolate ganache:
200 g good quality dark chocolate
150 g heavy cream (soya or oat), to use for melting the chocolate
400 g heavy cream (soya or oat), to add it in the melted chocolate mix

For the dark brown sugar syrup:
2 tablespoons (tbsp) dark brown sugar
4 tbsp water

EXECUTION

IN ADVANCE (the day before or at least 8 hours in advance)

 Prepare the chocolate ganache in advance by heating the chocolate pieces together with 150 g heavy cream in ‘bain-marie’ over low fire. When the chocolate is completely melted, stir well and add it to the rest of the heavy cream portion (400 g heavy cream). Stir well and cover the surface of the ganache with plastic wrap so that the wrap touches the surface of the ganache. Let it cool completely and then store in the refrigerator overnight (8 hours).

Prepare the cake layers:
Preheat the oven at 165°C (conventional).
In a large mixing bowl, sieve the cake flour and cocoa powder. Add the baking powder, the baking soda, the fine sea salt and mix well – using a wooden spoon or spatula.
In a second bowl, combine the rice milk, the dark brown sugar, the contents of the vanilla pod and stir well until the sugar is completely dissolved in the milk. Add the apple cider vinegar, the olive oil and stir once more.
Add gradually the dry ingredients to the wet ingredients and stir – using a wooden spoon or rubber spatula.
Divide the dough equally to the three spring forms – that you have previously greased with some olive oil - and bake the cakes in preheated oven at 165°C (conventional) for 20 minutes, until you insert a wooden skewer in the middle of the cakes and it comes out clean. If the dough is still wet let it bake for 5 minutes more, then check again.
When ready, remove the cakes from the oven and let them completely cool on a cooling rack before you wrap them individually in plastic wrap and store them in the refrigerator overnight or for at least 8 hours.
In the meantime prepare the dark brown sugar syrup by combining 2 tablespoons dark brown sugar and 4 tablespoons water in a small sauce pan. Stir until the sugar is completely dissolved in the water and bring the solution to a soft boil over low fire. Cook it for a few minutes (5-7mins) and remove it from fire.

THE NEXT DAY (or 8 hours later)

Ready to build the layered cake:
Take the chocolate ganache out of the refrigerator and let it rest at room temperature. In a stand or hand mixer - with the whisk attachment on – beat the ganache until it increases in volume and its colour is lighter. You can transfer the whipped chocolate ganache to an icing bag with tip to apply it easier on the cake.
Take the cakes out of the refrigerator and cut their uneven tops to create three even disks that will be the layers of your final cake.
On a serving plate, place the first cake layer and sprinkle it with some of the dark sugar syrup you made earlier. Then apply a generous portion of chocolate ganache. Place the second cake layer on top and sprinkle with the brown sugar syrup. Add another one generous portion of whipped chocolate ganache on top. Add the third cake layer and cover the sides of the cake with some more chocolate cream. Smooth it using a palette knife.
Decorate the cake according to your preference with fresh edible flowers or dried ones. For this one I used withered white roses from the garden.  

NOTES
- It is advised to make the chocolate ganache and cake layers one day in advance. This will allow the chocolate ganache to firm up and be more stable for whipping. Similarly, the cakes will be more stable and less likely to break when building the layered cake. 
- You can choose the time slot that is handy for you when you want to prepare your cake. You could prepare the cakes and chocolate ganache the day/night before and be ready to build the layered cake the next day. Alternatively, you could start early in the morning and be ready to build the cake in the evening of the same day (approximately 8 hours later).
- I choose to add some syrup on the cake layers to keep them moist and fresh for a longer time. However, this is optional and you may always skip this step and add some more sugar in the dough of the cakes to balance out the sweetness.

X

Alexandra

YELLOW PLUM OLIVE OIL CAKE


The house was filled with the orange and cinnamon scent of this delicate cake. The perfect introduction to the lovely autumn season that is approaching. Divine, cloudy, moist on the inside and slightly sweet to balance the sharp sour tones of the plums in season. Paired perfectly with vanilla ice cream or whipped vanilla flavoured cream for the chilly days of October. Preferably enjoyed inside with a warm cup of tea or outside in the garden with a herbal tea after the first rainfall of the season. I hope you resonate with this and love this cake as much as I did.


piece of yellow plum cake dusted with confectioners sugar on ceramic plate
yellow plum olive oil cake dusted with confectioners sugar on tray
piece of yellow plum cake dusted with confectioners sugar on ceramic plate

YELLOW PLUM OLIVE OIL CAKE

INGREDIENTS (makes 1 rectangular cake of 28 cm x 21 cm)

 195 g all purpose flour
2 teaspoons (tsp) of baking powder
125 g light brown sugar
80 g good quality unsalted butter, softened at room temperature
2 eggs, at room temperature
80 ml virgin olive oil
the zest of 1 orange
the contents of half vanilla pod
¼ cinnamon stick, freshly grated or cinnamon powder
¼ tsp fine sea salt
6 yellow plums, washed, halved + pitted
For dusting: confectioners sugar

EXECUTION

Grease the rectangular form with some butter, line it with a piece of baking paper and set it aside for later.
Preheat the oven at 175°C (conventional).
In a stand or hand mixer – with the paddle attachment on – beat the softened butter for 2-3 minutes. Then add the light brown sugar. Cream it for another 7 minutes until the butter is lighter in colour and texture.
Add one egg and mix until it is completely incorporated. Then add the second egg and beat to a smooth mixture.
Add the contents of the vanilla pod, the orange zest, the grated cinnamon stick, the salt and mix until the flavours are well incorporated with the rest of ingredients. While mixing on low speed, add gradually the olive oil while pausing in between to scrape down the mixture from the sides of the bowl.
Gradually add the flour and baking powder while mixing gently with a wooden or rubber spatula until you get a smooth and homogenous batter.
Transfer the dough to the rectangular baking form and decorate with the yellow plums.
Bake the cake in preheated oven at 175°C (conventional) for 30-35 minutes until you insert a wooden skewer in the middle of the cake and it comes out clean.
Remove it from the oven and let it cool on a cooling rack. When cool, dust it with some confectioners sugar and serve.

NOTES

1: When decorating the cake with the plums make sure that the fruit is only half way dipped in the cake. In this way the fruit will still be visible after the rise of the cake in the oven.
2: Enjoy it plain or served with vanilla ice cream or vanilla flavoured whipped cream.
3: Keeps fresh in the refrigerator stored in an airtight food container.

xx

Alexandra


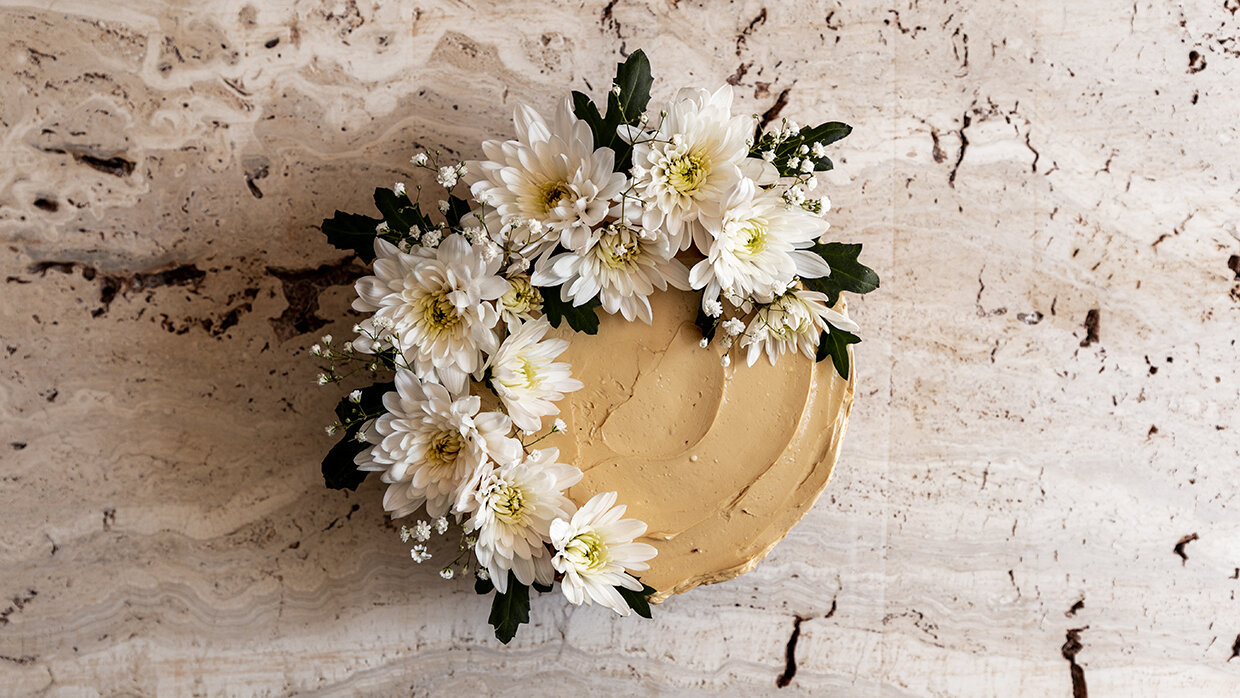
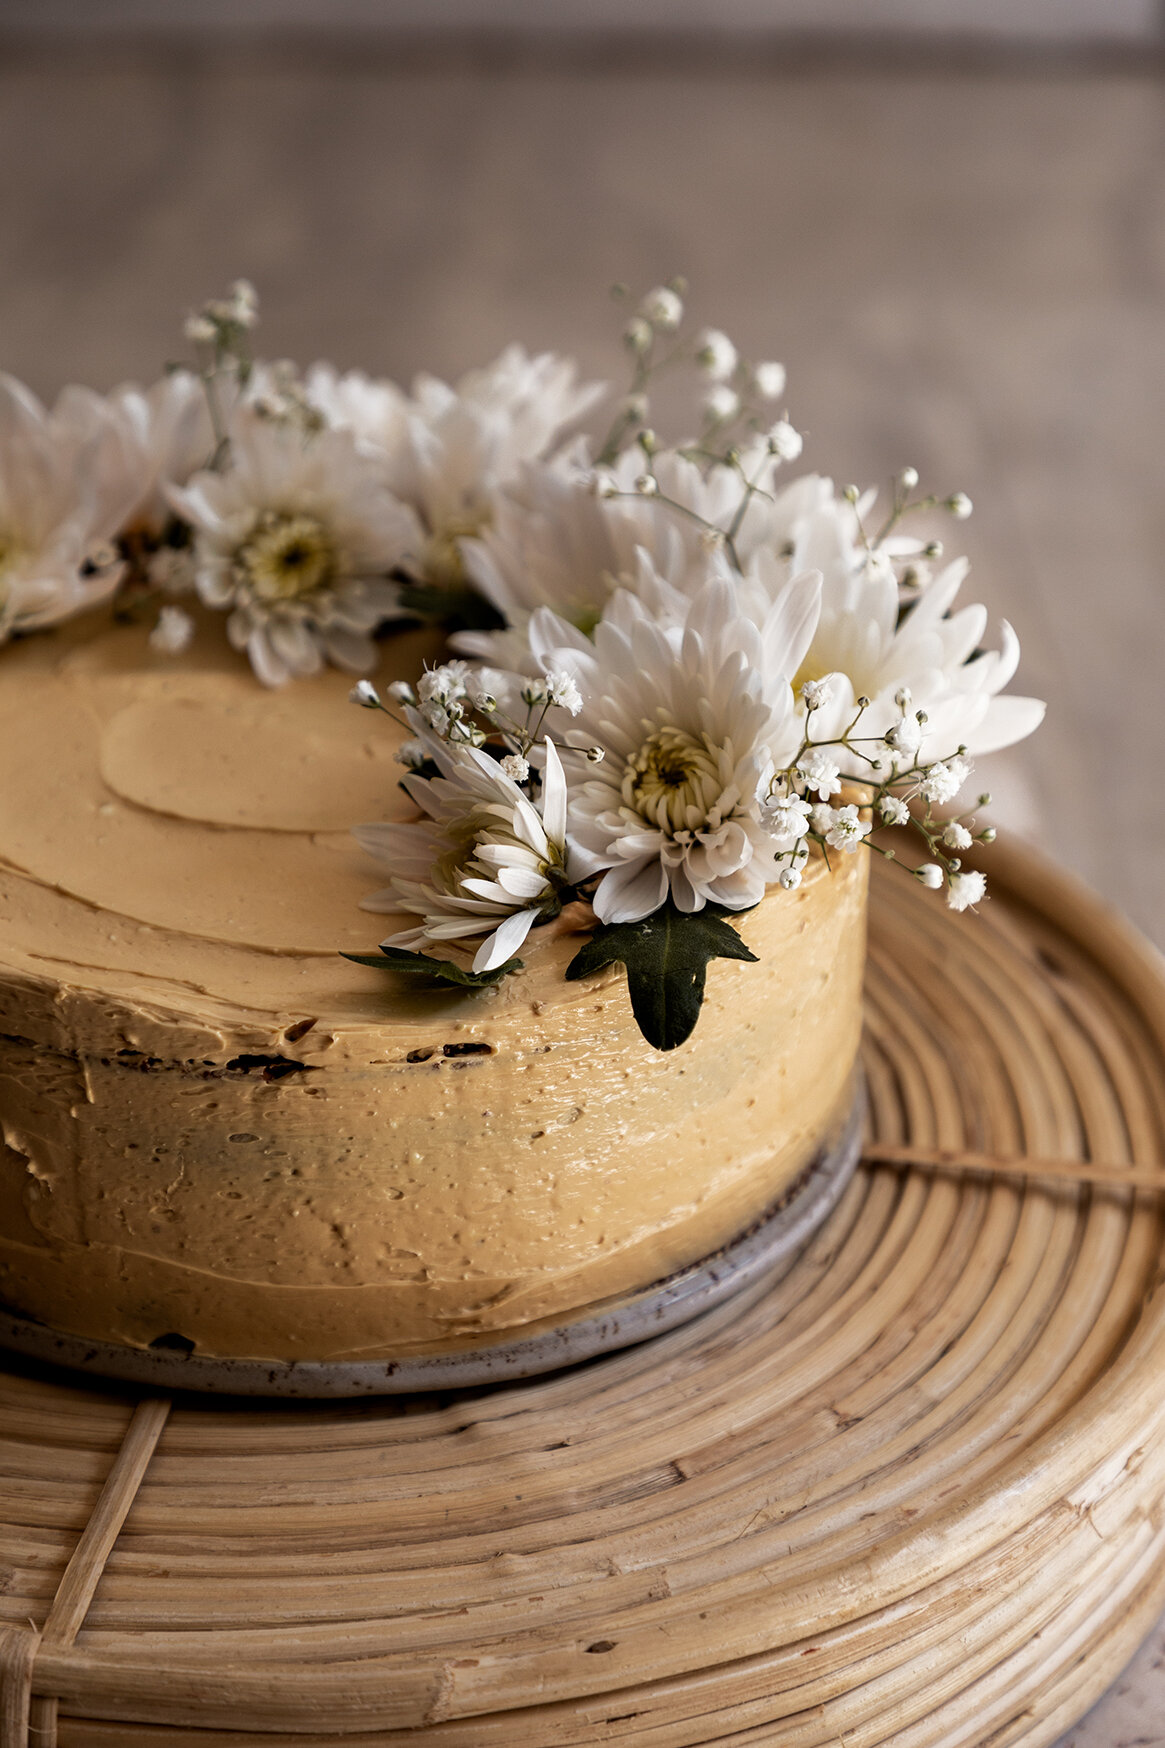
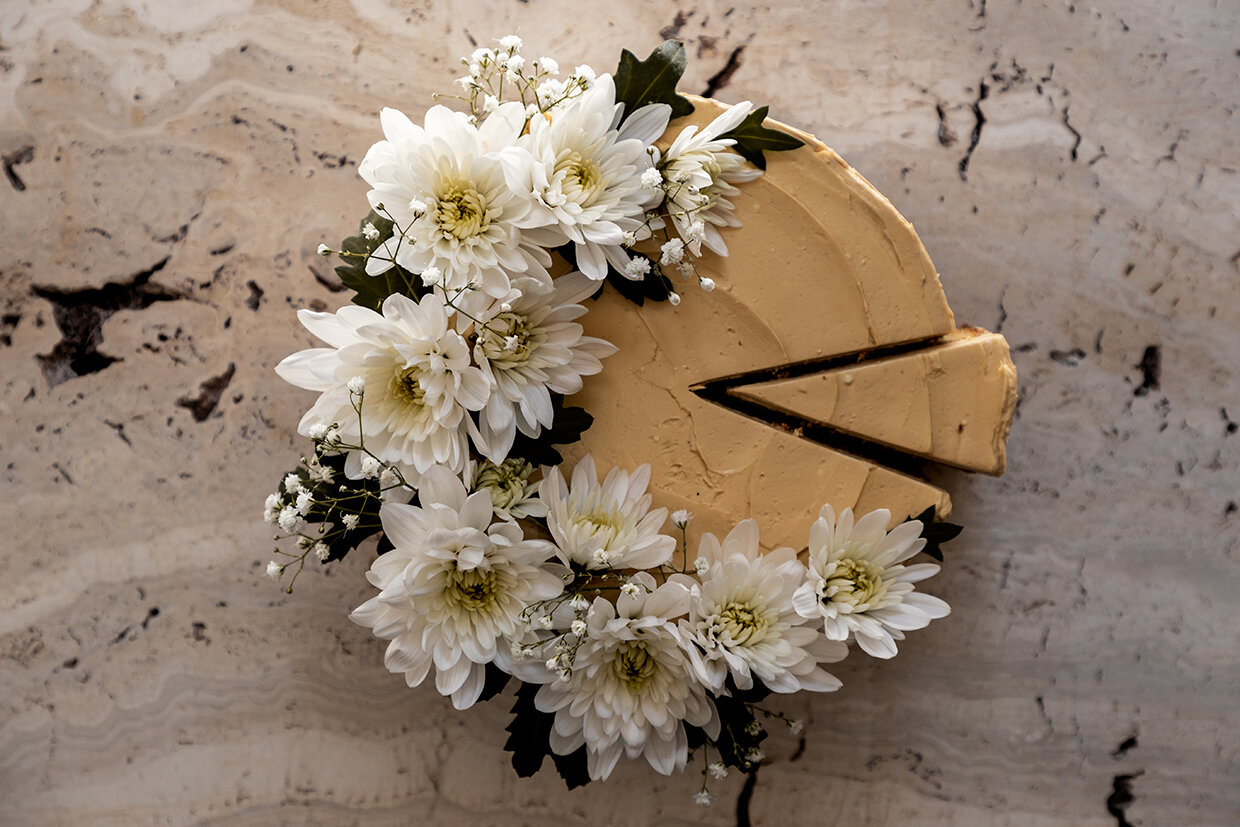
TOASTED ALMONDS CAKE W/ CARAMEL BUTTERCREAM


Soft cake with a crunch that is pairing the nutty flavor of almonds with the sweet delicate texture of a caramel buttercream


toasted almond cake w caramel buttercream 01_small.jpg
toasted almond cake w caramel buttercream-2_small.jpg
toasted almond cake w caramel buttercream-4_small.jpg
toasted almond cake w caramel buttercream-5_small.jpg
toasted almond cake w caramel buttercream-6_small.jpg
toasted almond cake w caramel buttercream-9_small.jpg

TOASTED ALMONDS CAKE W/ CARAMEL BUTTERCREAM 

INGREDIENTS // makes a round cake of 20 cm circumference enough for 8 medium to 12 small servings 

For the toasted almonds cake 

190 g butter, room temperature
125 g raw almonds
100 g brown sugar
100 g granulated sugar
the seeds from one vanilla pod
3 whole eggs
300 ml buttermilk
385 g cake flour
1 tsp baking powder
½ tsp baking soda
½ tsp fine sea salt 

For the caramel buttercream 

220 ml heavy cream at room temperature
140 g granulated sugar
2 egg yolks
2 tsp cornstarch
The seeds from one vanilla pod
A pinch of fine sea salt
350 g butter, softened at room temperature

EXECUTION 

Start with toasting the almonds in a preheated oven at 170°C for 10-15 minutes until golden brown. When ready, remove them from the oven, transfer the almonds on a cool tray and let them cool completely. 

In a large mixing bowl, combine your dry ingredients; cake flour, baking powder, baking soda, and sea salt. Mix well - using a whisk. 

In a food processor, add the almonds, the two types of sugar and process until the almonds are finely chopped and the sugars almost powdered. 

In a stand or hand mixer with the paddle attachment, beat the softened butter for a 2-3 minutes and then add the almonds-sugars mix. Continue beating the mixture for another 5-7 minutes until the butter is softened and lighter in colour and texture. 

Add one egg at a time and make sure it is well incorporated in the mix before adding the next one. Slice the vanilla pod open and remove the seeds - using the false edge of a knife. Add the vanilla seeds to the mix.

Add ⅓ of the dry ingredients and ⅓ of the buttercream or milk with vinegar and mix well - using a wooden spoon or spatula. Continue with the rest of the dry ingredients and milk. Mix well until everything is well combined in a smooth batter. 

Transfer the batter in a springform of 20 cm circumference and bake it in a preheated oven at 170°C for 60 minutes until you insert a wooden skewer in the middle of the cake and it comes out clean. Let the cake cool completely on a cooling rack. 

In a pan, over medium to high heat, warm up the sugar until it melts and caramelizes to an amber colour. Remove from fire and add the heavy cream while constantly swirling the contents of the pan. Be careful when adding the cream because it will spatter due to temperature difference. It is advised that you slightly warm up the cream before you add it to the caramel.

In a mixing bowl, combine the egg yolks with the cornstarch, the contents of the vanilla pod and the salt. Stir using a whisk. Add a small portion of the caramel to the egg yolks-cornstarch mixture, stir and add this back to the caramel. Cook for about 5 minutes while constantly stirring using a whisk and until the caramel custard thickens. When the custard is cooled to room temperature, cream the butter for about 7 minutes in a stand or hand mixer with the paddle attachment on and add the custard. Beat until smooth. 

When the cake is completely cool, cut the uneven top and slice it transversely to create two even disks that will be the layers of your final cake. 

On a serving plate, place the first layer of the cake and cover it with a generous portion of caramel buttercream. Place the second cake layer on top and add a few tablespoons of the buttercream. Cover the sides of the cake with some more cream and make it smooth with a palette knife. 

Decorate the cake according to preference with flowers and toasted almonds. 

Notes: 

- I used one springform of 20 cm circumference but you could use a slightly larger one as well. In this case the baking time will be less as the cake will be less thick. I created a thick cake and cut it half to create the two cake layers. Alternatively, you could divide the batter into 2 spring forms of the same size to create two cake layers. In this case your baking time should be half as your cake will be thinner and thus will bake faster.

- If buttermilk is not easily available where you are, you can use cow or plant based milk instead adding 2 teaspoons of white wine or apple cider vinegar to compensate for the acidity . 

- It is advised to make the cake and the custard for the buttercream one day in advance to let it rest and develop its full flavour. You will also be able to cut the cake easily without running the risk of breaking it. 


X

Alexandra

SWISS ROLL CHEESECAKE W/ PERSIMMONS + ORANGE


A very light egg cake filled with the soft texture of cream cheese combined with whipped cream. The sweetness and honey-like taste of persimmon freshened up with the orange scent.

Persimmon - fruit of the winter season

Persimmons are high in important vitamins and minerals, including vitamins A, C and B (thiamine B1 and riboflavin B2), folate, magnesium, and potassium. Just one persimmon contains over half the recommended intake of vitamin A, critical for immune function and vision. They also contain beneficial plant compounds like tannins and flavonoids and carotenoids (source: healthline.com). 

I started with the persimmon as an inspirational guideline that is seasonal and adds some colour to the winter season then I thought of a winter traditional cake that will contain the fruit and will be decorated with it. The persimmon colour inspired me to create a deep yellow glaze that will contain fresh orange juice to add flavour and freshness to the cake. Magical soft winter sunlight made its appearance for a few seconds to light up the day and warm up the scenery.


SWISS ROLL CHEESECAKE W/ PERSIMMONS + ORANGE

SWISS ROLL CAKE
75 g cake flour
80 g granulated sugar
4 (medium to large) eggs
40 g melted butter, cooled
vanilla essence
a pinch of salt
2 tablespoons confectioners sugar (to sprinkle on the kitchen towel you will use to fold in the cake until it cools)

WHIPPED CREAM CHEESE FILLING
55 g cream cheese
105 g heavy cream, cold
18 g confectioners sugar
1 persimmon, thinly sliced

ORANGE GLAZE
25 g granulated sugar
18 g heavy cream
2 g powder gelatin + 8 ml cold water to hydrate the gelatin
38 ml fresh orange juice, strained (approximately from 1/2 orange)

PREPARATION 

ORANGE GLAZE
In a small bowl, mix the powdered gelatin with 18 ml water and let it hydrate for at least 30 minutes.
Juice the orange and strain the juice. Over medium fire, warm up the heavy cream and the orange juice slightly. Then remove from fire and add the gelatin. Mix well - using a whisk - and let it cool and set at room temperature. 

SWISS ROLL
Preheat the oven at 170°C (fan function) or 190°C (conventional).
Separate the egg whites from the egg yolks. Whisk the egg whites - using a stand or hand mixer - for a few seconds until they turn foamy. Then start pouring slowly half of the total sugar portion (40g). Continue whisking for approximately 2 minutes at medium/high speed until stiff peaks are formed. Set aside until later.
In a different bowl, whisk the egg yolks with the rest of the sugar portion. Add the vanilla essence, cooled melted butter (if butter is warm it will cook your egg yolks and we don’t want that because the mix will lose its smooth texture), salt, and whisk until all ingredients emulsify.
Fold the beaten egg whites in the beaten egg yolks mix - using a spatula. Spread the batter evenly on a baking tray lined with a piece of a baking paper.
Bake the cake in a preheated oven for 10-15 min depending on the intensity of your oven. Don’t worry if some parts of the cake rise up due to the steam trapped between the cake and the baking tray. When you remove the cake from the oven it will flatten again. Don’t try to pinch it because the cake sheet has to stay whole. When ready, remove the cake from the oven and let the cake rest for a few seconds on a cooling rack. Flip it upside down with the help of a second tray by placing the second tray on top of the cake and by holding both top and bottom trays (cake in between) flip the cake so that the bottom part with the baking paper is now top side. Remove the baking parchment carefully. Lay the cake on a clean kitchen towel that you have previously sprinkled with confectioners sugar so that the cake doesn't stick on the towel. Roll the cake together with the kitchen towel to a cylinder form, starting from the shorter side, and allow it to cool completely at room temperature. This will help give the cake the final shape we want without running the risk of cracking it as we try to roll it when it is cool.

WHIPPED CREAM CHEESE
In a stand or hand mixer, beat the cream cheese - with the whisk attachment - until smooth. Slowly add the chilled heavy cream and whisk gently at low/medium speed until the ingredients are well combined. When the consistency of the mix is smooth, switch to high speed and beat until stiff peaks of whipped cream cheese are formed.
When the cake is completely cool, roll it out and spread a generous amount of the whipped cream cheese. Lay on top, thin slices of persimmon. Add some more cream and roll the cake starting from the short side of the cake sheet. Cover the cake with a piece of plastic foil and refrigerate it for at least 1 hour until the cream is set.
If the orange glaze is solid, warm it up slightly to become fluid again. It should have a fluid jelly-like consistency so that it holds well on the cake when glazing. The cake should also be chilled so when the glaze hits its surface will solidify quickly and won’t slide off immediately.
After you have glazed the cake, decorate it with some more whipped cream cheese and a few persimmon slices.

Serve + enjoy! Good luck guys!

X

Alexandra


CARAMEL CHOCOLATE FUDGE LAYERED CAKE


A festive cake for the holiday season to make together with family and friends. To bond and connect while handcrafting food together.


caramel choco fudge cake_01__small.jpg
caramel choco fudge cake_02_small.jpg
caramel+choco+fudge+cake_09_small.jpg

Makes one layered cake of 16 cm Ø

_CAKE DISSECTION_

This cake consists of:

  • 3 layers of chocolate fudge cake 

  • a swiss meringue caramel buttercream for the layers

  • a caramel buttercream to cover the cake and 

  • a caramel fudge sauce to glaze 

_TIME MANAGEMENT_

Make the cake layers and the creams one day in advance. The cakes have to stay in the refrigerator overnight to rest, that is important for the layered cake’s stability. Moreover, it is more relaxed to make the creams one day in advance and not on the same day that you will build the cake. 

_INGREDIENTS PER PREPARATION_

CHOCOLATE FUDGE CAKE (makes 3 layers of 16 cm Ø) 

NOTE: if you don't have round spring forms of this size - use the ones you have and adjust the number of layers to two for a form with larger diameter. Alternatively bake one thicker round cake and cut it to create disks that will be your cake layers.

285 g cake flour
285 g granulated sugar 
270 g good quality butter, at room temperature
190 g cocoa powder
2 + 1/4 tsp baking soda
1 + 1/2 tsp baking powder
3/4 tsp sea salt
3 eggs, at room temperature
360 ml buttermilk 

CARAMEL FUDGE SAUCE (for both buttercreams and glaze)

200 g granulated sugar 
90 g good quality butter, room temperature 
120 ml  heavy cream, room temperature

SWISS MERINGUE CARAMEL BUTTERCREAM 

100 g granulated sugar, extra fine
60 g egg whites (2-3 eggs)
170 g good quality butter
80 g caramel fudge sauce (recipe above)
a pinch of salt

CARAMEL BUTTERCREAM 

255 g good quality butter 
120 g caramel fudge sauce (recipe above)

PREPARATION: CHOCOLATE FUDGE CAKE  
Preheat the oven at 170 °C (conventional oven) or 150 °C (fan function). 
In a large mixing bowl sieve in the cake flour, baking powder, baking soda, cocoa powder and salt. Mix well and set aside. 
In a stand (or hand) mixer, with the paddle attachment, cream the butter and sugar. Start with beating the butter a few seconds and then start incorporating the sugar. Beat for at least 10 minutes until fluffy and lighter in colour. 
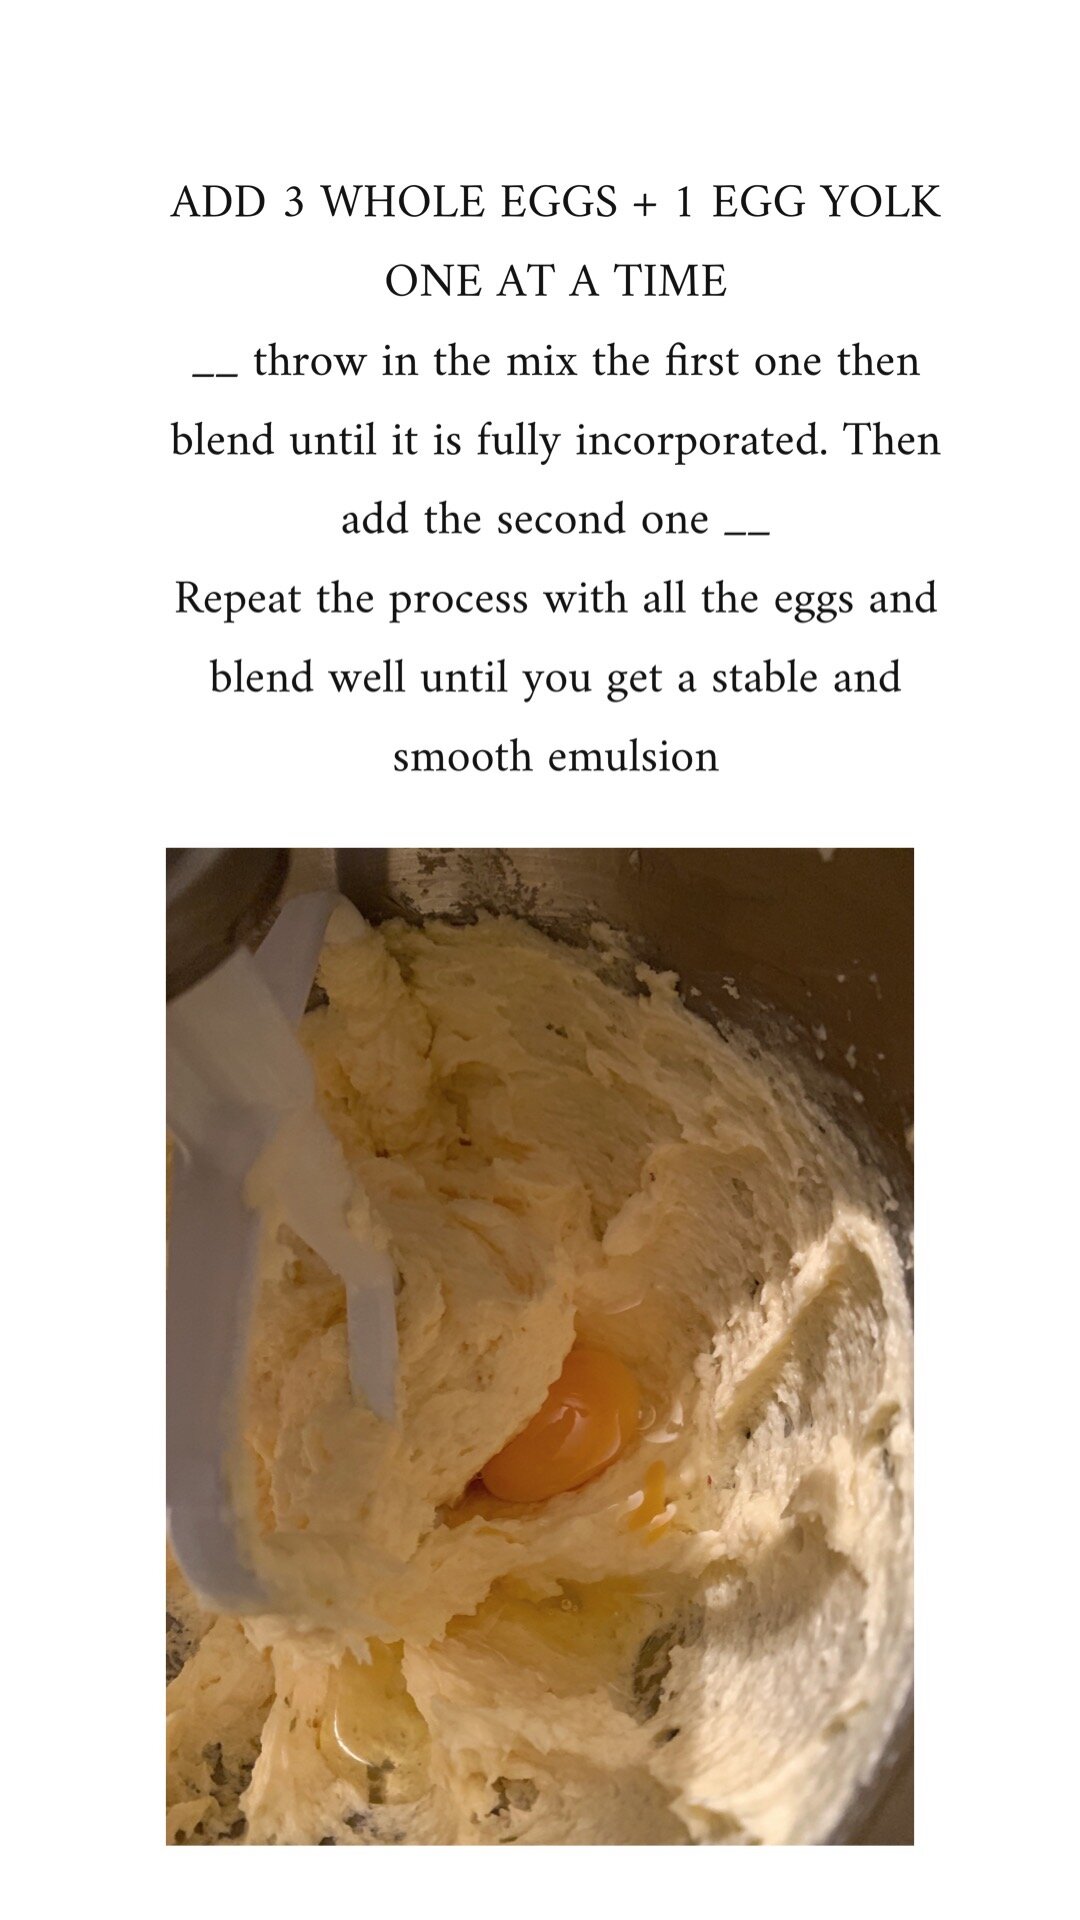
Add the eggs one by one making sure that the one is incorporated before you add the next one. Continue beating with the paddle attachment until you get a stable and smooth consistency of the emulsion. 
Add ⅓ of the dry ingredients mix that you prepared in the beginning and ⅓ of the buttermilk portion and blend. Repeat the process another 2 times by using ⅓ of the quantity of the dry ingredients mix and buttermilk each time. Blend well until a smooth consistency of the cake dough. 
Divide the batter in 3 round spring forms of 16 cm Ø or larger.
Bake the cakes for 40-45 minutes and until you insert a toothpick into the centre of the cake and it comes out clean. The baking times might differ depending on your oven and on the thickness of your cakes so always keep an eye on them during the baking process. 
When ready place them on a cooling rack and let them cool completely. Afterwards, wrap them in plastic individually and place them in the refrigerator overnight.

PREPARATION: CARAMEL FUDGE SAUCE (for both buttercreams and glaze)
In a pan, over medium fire, pour a thin layer of granulated sugar and wait until it melts. Continue with the rest of the sugar little by little until all the sugar is melted. Wait until the caramel takes an amber colour and immediately remove it from fire.

NOTE:  This is a fast process and you will need to slightly swirl the contents of the pan to ensure that the caramel browns evenly. It is very important to not use any utensil to stir the melted sugar to prevent crystallisation.

When caramel has turned amber, remove it from fire and carefully add the heavy cream little by little. It might spatter due to the large difference in temperature so be careful not to burn yourself. Swirl the contents of the pan until the cream is well incorporated in the caramel. Continue with the butter. Swirl the pan continuously and see the butter melting and blending in with the rest of ingredients. Set aside to completely cool before using it for the buttercream’s and as the final glaze of the cake. Store it in the refrigerator overnight and let it rest at room temperature (25°C) before using it for making the creams.

PREPARATION: SWISS MERINGUE CARAMEL BUTTERCREAM 
In the stand (or hand) mixer - using the paddle attachment - beat the butter until fluffy and lighter in colour (at least 7 minutes). Then add the caramel fudge sauce and the pinch of salt. Beat for another 3 minutes until all ingredients are well incorporated and set aside.
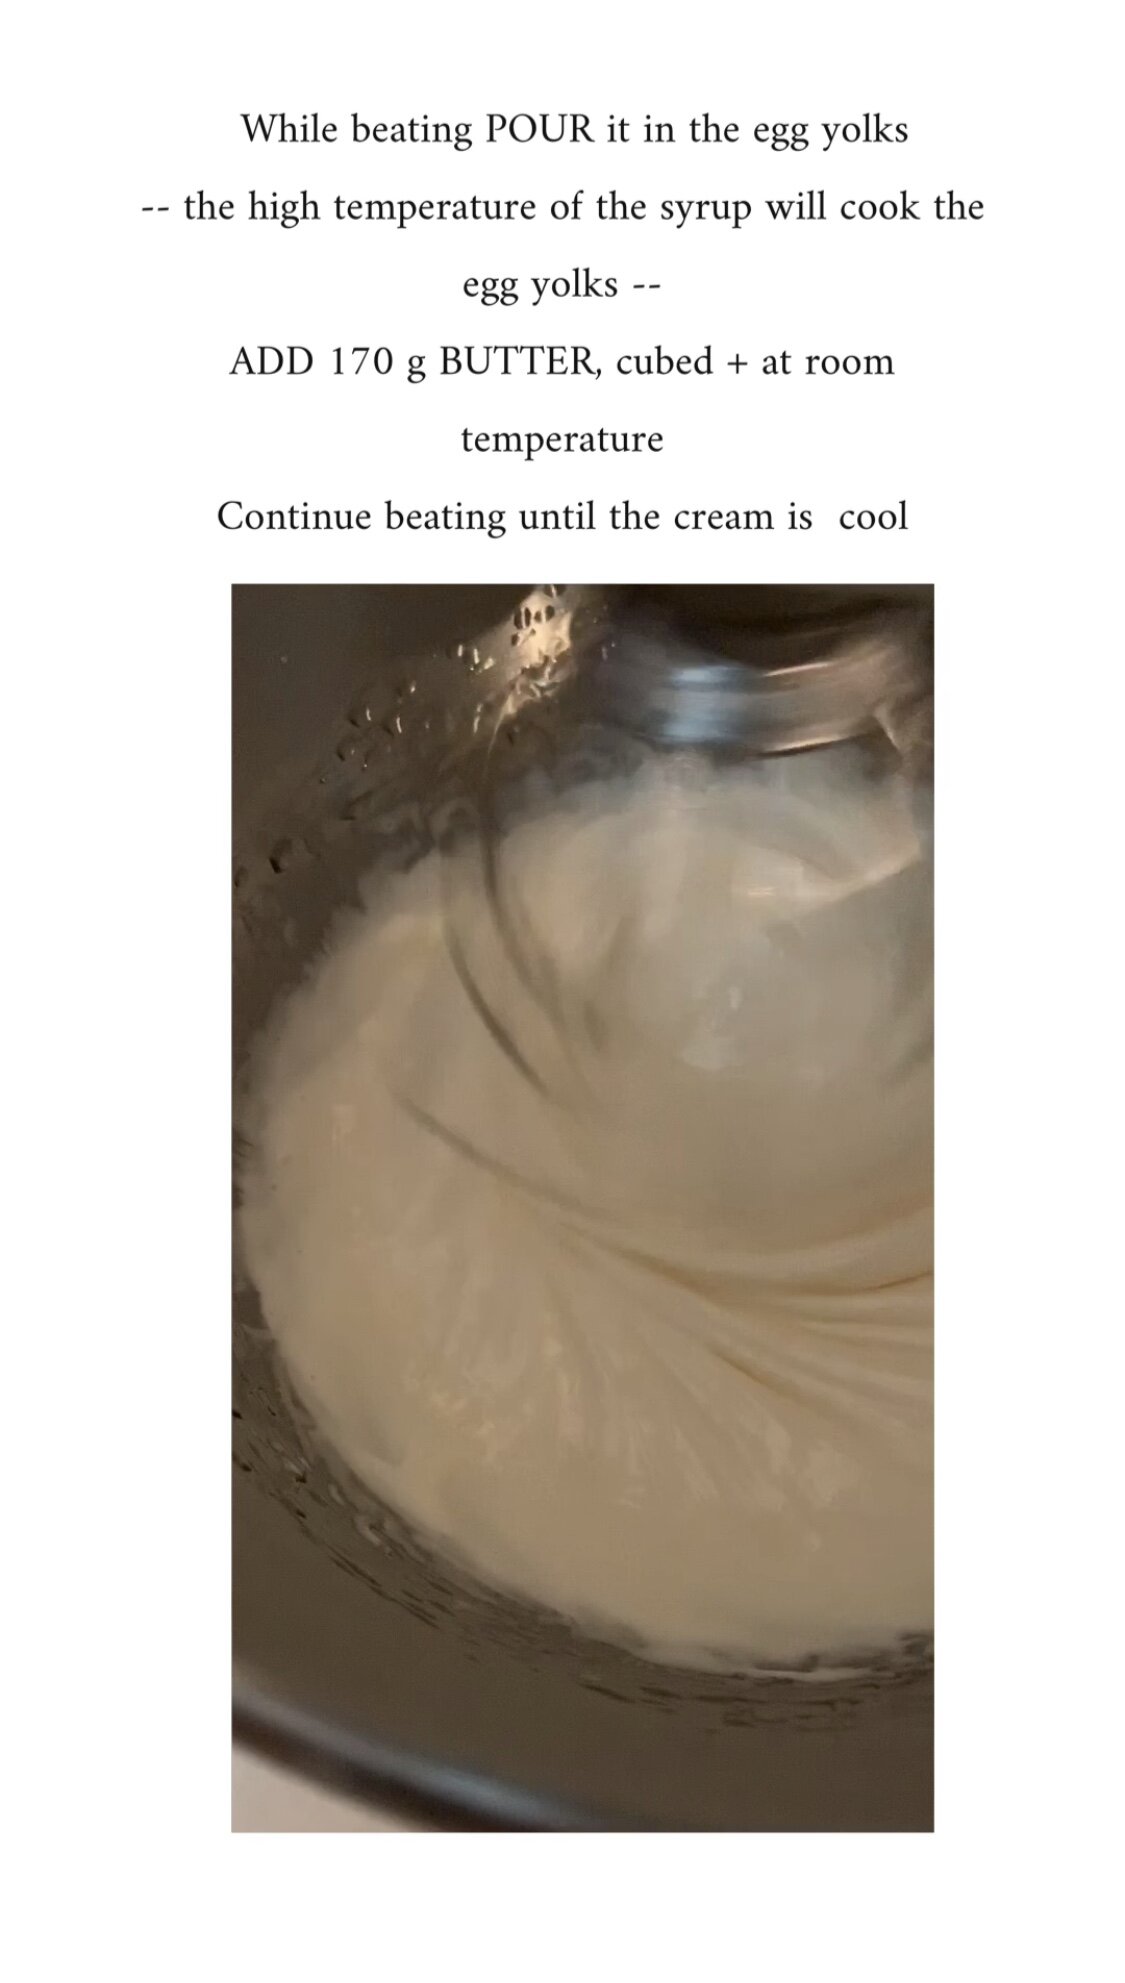
In a ‘double boiler’ over medium fire combine the egg whites with the granulated sugar and whisk until all the sugar is dissolved. When the temperature of the egg whites reaches 45°C (or when all the sugar is dissolved, the texture is not grainy due to the unmelted sugar, and the mix is hot to the touch) remove from the fire and transfer the egg whites mixture in a stand (or hand) mixer fitted with the whisk attachment. Beat for at least 5-7 minutes until glossy stable peaks are formed and the temperature of the meringue drops. 
Then change to the paddle attachment and fold the meringue in the beaten butter - caramel gently (low-medium speed) for a few seconds until all ingredients are well incorporated. Transfer it in an icing bag or an airtight container and set aside. You can store it in the refrigerator overnight and let it rest at room temperature for 1-2 hours before building the cake.

PREPARATION: CARAMEL BUTTERCREAM 
In a stand (or hand) mixer fitted with the paddle attachment, beat the butter for at least 7 minutes until fluffy and lighter in colour. Add the caramel fudge sauce and beat for another 3 minutes. 
Transfer the buttercream in an icing bag or an airtight container and set aside. You can store it in the refrigerator overnight and leave it at room temperature before using it for building the cake. 

NEXT DAY 

Get ready to assemble the cake. Take the cake layers and the creams out of the refrigerator and let them rest at room temperature. If the buttercreams are stiff after resting you can beat them for a few seconds with the mixer (paddle attachment) to make them lighter again. Cut the uneven tops of the cakes to create stable bases for your layered cake. 
Select a plate/serving tray that is going to be your layered cake base and apply a small portion - the size of a bean - of the swiss meringue caramel buttercream between the plate and the first cake layer to secure the cake on it. Apply evenly the swiss meringue buttercream on the first cake layer and place the next layer on top making sure that your cake is straight and stable. Continue with another layer of buttercream and place your last cake layer on top. 
Transfer the layered cake in the refrigerator for at least half hour for the buttercream to set.

NOTE: if you want you can slightly soak every layer with light corn syrup or simple syrup . It is usually used to secure the humidity of the cakes to keep them fresh for longer. However, the buttercream cover in this recipe will prevent the cakes from drying out, so simple syrup can be omitted.

Take the cake from the refrigerator and carefully cover it with the caramel fudge buttercream creating a straight and even surface - using a spatula. Let the cake rest in the refrigerator for another half hour. While waiting, slightly warm up the caramel fudge sauce to a more fluid consistency by paying attention that it is not too hot when you glaze the cake because the buttercream will melt. Caramel fudge holds best (not too runny, not too stiff) at around 30°C.

Take the cake from the refrigerator and finalise it with a generous portion of caramel fudge sauce. So good! Cut + serve…

Good luck you guys!

X Alexandra

P.S. post your comments + questions you might have over the recipe below in the comment section below!


MILK CHOCOLATE HAZELNUT LAYERED CAKE


Favorite milk chocolate hazelnut flavour combination layered with tender vanilla cake


RECIPE _ STEP BY STEP


Birthday Cake with Dark Chocolate & Fresh Chilli Peppers

Turbulent & Spicy Bittersweet

dark chocolate bday cake
bday cake.jpg

BIRTHDAY CAKE WITH DARK CHOCOLATE AND FRESH CHILLY PEPPERS

Ingredients for a 3-layered cake of 16 cm base diameter

DARK CHOCOLATE CAKE

460 g all purpose flour
45 g cocoa powder
25 g carob powder
26 g baking powder
1 teaspoon smoked paprika powder
1/2 teaspoon sea-salt
380 ml oat milk
120 ml sunflower oil
170 g brown sugar
95 g dark chocolate, melted

DARK CHOCOLATE CHILLY MOUSSE (for the layers)

400 g dark chocolate
400 ml plant-based heavy cream (rice or oat)
2 fresh chilly peppers, or more if you like it more spicy
a pinch of salt

DARK CHOCOLATE GANACHE (to cover the cake)
500 g dark chocolate
500 ml plant-based heavy cream (rice or oat)

PREPARATION

Start with the chocolate mousse as it has to rest for at least 4 hours before use. Blend the chilly peppers and sieve to retreat the juice. In ‘bain-marie’ and on low fire, melt the chocolate and gradually add the heavy cream. Make sure that the heavy cream is at room temperature. Blend gently until you get an homogenous mix. Add the chilly pepper juice and mix well. Let it sit for 4 hours at room temperature. After this time, beat the chocolate/heavy cream mix with a handmixer for at least 5-10 minutes until it turns slightly fluffy and transfer it in an icing bag with a round tip of approximately 1 cm diameter. Set aside for later use.

Use the same ‘bain-marie’ method for the dark chocolate ganache. Melt the dark chocolate with the plant-based heavy cream and set aside.

Preheat the oven at 170°C.
In a mixing bowl, sieve the flour, cocoa, carob powder & baking powder. Add the smoked paprika, sea-salt and mix well. In a second bowl, combine the brown sugar with the plant-based milk, sunflower oil, and stir well – using a whisk. Gradually add the mix of dry ingredients (flour, cocoa powder, baking powder & salt) to the wet ingredients and mix well – using a spatula – until all ingredients are well combined. Add the melted chocolate. Equally divide the dough in 3 spring forms of 16 cm diameter - that you have previously greased with some baking spray or plant-based fat. Bake in preheated oven at 170°C for 25-30 minutes until the cakes are properly baked. You can use the toothpick-test to check if your cakes are ready. If you dip a toothpick in the centre of the cake and the toothpick comes out clean then the cake is done. If it comes out with pieces of wet unbaked dough, then you need to bake the cake for a couple more minutes. When ready remove the cakes from the oven and let them cool completely on a cooling rack.

When the cake layers are completely cool, cut their tops if necessary to make them even and start building the final cake. Select a surface/cake stand of your preference, place the first cake layer and add - with circular movements - some of the dark chocolate chilly mousse you have prepared in the icing bag. Continue with the next cake layer and add on top of it another layer of chocolate chilly mousse. Finish with the last cake layer, placing it bottom-up so that your final cake has an even top. Refrigerate for at least an hour until the layers are set.

Slightly beat the dark chocolate ganache for a 2-3 minutes until it gets a little bit more soft and easier to work with it. Cover the cake - using a spatula - and create a wavy pattern - using a spoon. Finish it by slightly burning the chocolate ganache - using a kitchen torch - for a glossy effect.

Enjoy x AM

RUM CHOCOLATE CAKE W/ TOASTED MERINGUE


RUM CHOCOLATE CAKE W/ TOASTED MERINGUE

Ingredients for a 3-layered cake of 16 cm base diameter

RUM CHOCOLATE CAKE

460 g all purpose flour
70 g cocoa powder
26 g baking powder
1/2 teaspoon sea salt
380 ml rice or oat milk
120 ml sunflower oil
150 g brown sugar
95 g dark chocolate, melted
4 tablespoons of good quality black rum liquor

CHOCOLATE MOUSSE (for the layers)

500 g dark chocolate
300 ml plant-based heavy cream (soya or rice)

TOASTED MERINGUE

4 locally farmed eggs
2 teaspoons lemon juice
180 g white sugar

PREPARATION

Start with the chocolate mousse as it has to rest for at least 4 hours before use. In ‘bain-marie’ and on low fire, melt the chocolate and gradually add the heavy cream. Make sure that the heavy cream is at room temperature. Blend gently until you get an homogenous mix. Let it sit for 4 hours at room temperature. After this time, beat the chocolate/heavy cream mix with a handmixer for at least 5-10 minutes until it turns slightly fluffy and transfer it in an icing bag with a round tip of approximately 1 cm diameter. Set aside for later use.

Preheat the oven at 170°C.
In a mixing bowl, sieve the flour, cocoa & baking powder. Add the salt and mix well. In a second bowl, combine the brown sugar with the plant-based milk, sunflower oil, rum, and stir well – using a whisk. Gradually add the mix of dry ingredients (flour, cocoa powder, baking powder & salt) to the wet ingredients and mix well – using a spatula – until all ingredients are well combined. Add the melted chocolate. Equally divide the dough in 3 spring forms of 16 cm diameter - that you have previously greased with some baking spray or plant-based fat. Bake in preheated oven at 170°C for 25-30 minutes until the cakes are properly baked. You can use the toothpick-test to check if your cakes are ready. If you dip a toothpick in the centre of the cake and the toothpick comes out clean then the cake is done. If it comes out with pieces of wet unbaked dough, then you need to bake the cake for a couple more minutes. When ready remove the cakes from the oven and let them cool completely on a cooling rack.

When the cake layers are completely cool, cut their tops if necessary to make them even and start building the final cake. Select a surface/cake stand of your preference, place the first cake layer and add - with circular movements - some of the chocolate mousse you have prepared in the icing bag. Continue with the next cake layer and add on top of it another layer of chocolate mousse. Finish with the last cake layer, placing it bottom-up so that your final cake has an even top. Refrigerate for at least an hour until the layers are set and the meringue is ready.

TOASTED MERINGUE

Separate the egg whites from the egg yolks. Use refrigerated eggs for an easier separation and then let the egg whites sit at room temperature from about 15 minutes. In a mixing bowl - preferably glass or inox - combine the egg whites with the lemon juice and sugar. In ‘bain-marie’ and above low fire, slowly warm up the egg-lemon juice-sugar mix until the sugar is well dissolved. Then remove from fire and beat the mix for at least 5-10 minutes - using a handmixer - until it turns glossy white & stiff peaks are formed.

Remove the cake from the refrigerator and cover it with the meringue. Lastly, slightly burn the tips of the meringue to create a toasted effect - using a kitchen torch.

Enjoy x AM


STYLING


Handmade Ceramic tableware: Imre Bergmann
Handworked Marble tabletop: De Marmerman
Hand-turned wooden cake stand: The Endeavorist
Handmade knife: Ting Shop Berlin


PECAN RUM CAKE W/ RUM FLAVORED CHOCOLATE SYRUP


The first days of 2018 have been a little bit messy. Slowly recovering from the vacation break and trying to pull myself back to the normal work flow again. However, with every new start, it feels nice to set new goals, polish my vision about my company and fix the next steps to take within the new year. My priority again will be to build up new collaborations and empower our small scale community of creatives. Learn from each other, help ourselves within the roller-coaster of freelancing life, work together and create an amplified beautiful result. Keeping this idea close at heart and making it reality, I officially kicked off this new year last week with my friend Leonardo with this fun shoot in rustic style with a romantic tone. We had so much fun, he helped me to make the most of the nordic natural daylight, we chatted over work and enjoyed this delicious vegan pecan nuts cake with rum, covered with a luscious rum flavored chocolate syrup. We wished everyday was like this! The recipe is one of my favorites so far. It is so well balanced in sweetness and rum flavor tones combined with a rich nutty taste from the crushed pecan nuts in the dough. The chocolate syrup on top adds an extra hit of rum in combination with an intense cacao flavor that makes this cake a dream! Furthermore, it was so fluffy and moist that gives extra points to a plant-based cake as the ones of you experimenting with vegan baking might know! Want to try out this delicious beauty cake too? Scrol down for the recipe & have fun baking! x Alexandra 


pecan rum cake_scene1.JPG
pecan rum cake_scene3.JPG
pecan rum cake.JPG
pecan rum cake_serve.JPG

PECAN RUM CAKE W/ RUM FLAVORED CHOCOLATE SYRUP

Ingredients for a medium bundt cake of 16 cm base diameter

pecan rum cake

350 g all purpose flour
20 g baking powder
1/2 teaspoon sea salt
90 g pecan nuts, finely crushed
90 ml sunflower oil
150 g brown sugar
260 ml almond milk or other plant-based milk
2 tablespoons rum liquor or 2 teaspoons rum essence

rum flavored chocolate syrup

120 g white sugar
45 g cocoa powder
150 ml tap water
1 teaspoon rum essence
a pinch of salt

PREPARATION

Preheat the over at 170°C.
In a mixing bowl, sieve the flour and baking powder. Add the salt and mix well. In a second bowl, combine the brown sugar with the almond milk, sunflower oil, rum liquor or essence, finely crushed pecan nuts and stir well – using a whisk. Gradually add the mix of dry ingredients (flour, baking powder & salt) to the bowl with the wet ingredients and mix well – using a spatula – until all ingredients are well combined. Transfer the dough in the cake form that you have previously greased with some baking spray or plant-based butter and bake in preheated oven at 170°C for 45-55 minutes until the cake is properly baked. You can use the toothpick-test to check if your cake is ready. If you dip a toothpick in the centre of the cake and the toothpick comes out clean then the cake is done. If it comes out with pieces of wet unbaked dough, then you need to bake the cake for a couple more minutes. Depending on the depth of your bundt cake form it might take a little bit longer for the cake to be done. When ready remove from the oven and let the cake cool completely on a cooling rack. 
While waiting you can prepare the chocolate syrup. In a small cooking pan, combine the white sugar, cocoa powder and tap water. Let the solution simmer on low fire until the syrup thickens but it is still runny enough to decorate your cake. Remove from fire, add the salt and the rum essence and stir well. When the cake is completely cool, add a graceful amount of the chocolate syrup on top and decorate with a few pecan nuts on top.  

Enjoy x AM


STYLING

Rustic French kitchen table: Fleur's Depot
Handmade knife: Ting Shop Berlin
Ceramic tableware: JC Herman Ceramics, Annemieke Boots Ceramics, Broste Copenhagen, Kerameio Serifos